Display Resolution Adjustment
Purpose:
Users will be accessing MnCHOICES from a variety of types of workstations. Monitor sizes between workstations will vary. MnCHOICES has provided for this disparity by allowing users to manually adjust display settings.
Workstation display settings
In order for MnCHOICES screens to display properly, the workstation needs to have certain display settings.
Browser Display
Ensure that the internet browser zoom is set at 100%
In Internet Explorer 9, this information can be found by clicking the gear icon in the top right corner of the browser and selecting Zoom.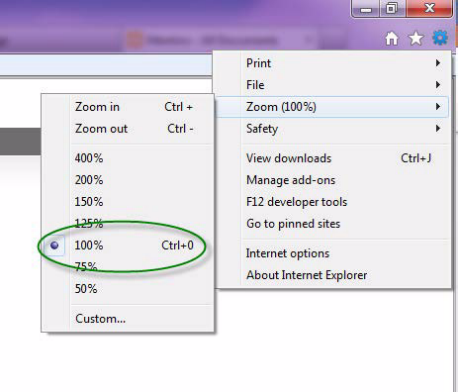
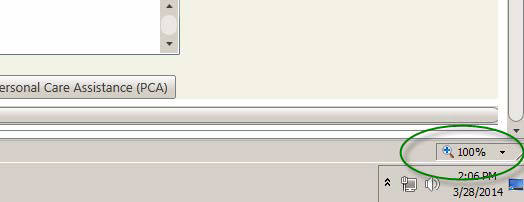
In Internet Explorer 8, the zoom can be found in the lower right corner of the browser:
Desktop Display
In Control Panel under Display, the zoom can also be adjusted for the workstation. These settings must be at 100% as well.
Editing My User Profile Options
- Click on the “User Profile” tab and Select “Settings.”
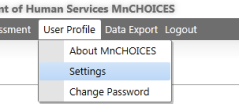
- This will display the Edit My User Profile Options page.

-
- Application Font Size

The Default Font Size is 12. If users have difficulty reading this size font, it can be adjusted here. The application will adjust the font in all areas, automatically adjusting the size of windows and length of scroll bars so that the document pages can be viewed.
-
- Monitor Type
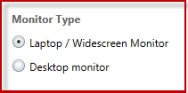
The MnCHOICES application will automatically detect the Monitor Type of the user’s workstation, but that setting can be changed manually. The options for Monitor Type are Laptop/Widescreen Monitor and Desktop Monitor.
-
- Resolution Setting Process
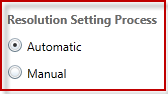
- Resolution Setting Process
The default for the Resolution Setting Process is “Automatic.” For the majority of monitor types, this default setting will display the application properly. If the user is having trouble viewing pages within the application or the scrollbar is not visible, the settings can be changed manually.
Manually Adjusting Resolution Setting Process
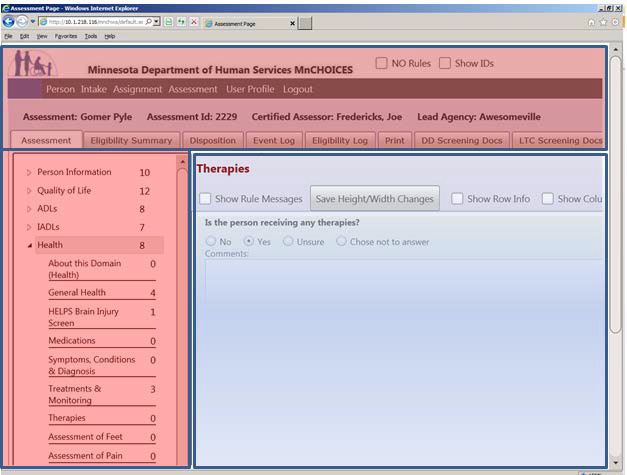
Change the Resolution Setting Process to “Manual” and adjust the values in each of the four boxes at the bottom of the screen labeled “Overall Application Width/Height” and “Assessment Question Area Width/Height.” Remember, the Overall Application must be larger than the Question Area.
 In the screenshot below, the area in Red indicates the “Overall Application Width/Height” and the area in Blue indicates the “Assessment Question Area Width/Height.”
Example 1: If there is a lot of white space to the right of the questions, then the user should increase the number in the first box to the right of “Assessment Question Area Width/Height.”
Example 2: If there is a lot of gray space under the Domain Menu and the Questions, then the number in the second box to the right of “Overall Application Width/Height” should be increased.
When the settings look correct, be sure to click the “Save Settings” button at the bottom of the Options page.
 Report this page