Azure Virtual Desktop Install-Part I
- Navigate to Microsoft Website Download Remote Desktop link.docx

- Scroll down on the page to download the Remote Desktop Client installer, most often this is the Windows 64-bit client.

- Run the “RemoteDesktop” installer from your downloads directory by double clicking the file.

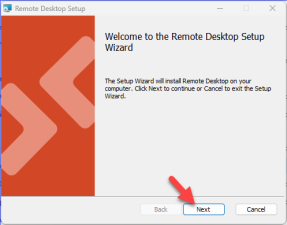
- On the welcome screen, select Next.
- To accept the end-user license agreement, check the box for “I accept the terms in the License Agreement”, then select Next

- For the Installation Scope, select one of the following options:
- Install just for you: Remote Desktop will be installed in a per-user folder and be available just for your user account. You don't need local Administrator privileges.
- Install for all users of this machine: Remote Desktop will be installed in a per-machine folder and be available for all users. You must have local Administrator privileges
- Select Install.
- If you are prompted for your credentials for login, check with your IT department to have them complete the install as administrator. If IT department is okay with local user only install, choose “Install just for you” above.
- If you are prompted with a “Do you want to allow this app to make changes to your device?” Select Yes
8. Once installation has completed, select Finish.

9. If you left the box for Launch Remote Desktop when setup exits selected, the Remote Desktop client will automatically open. Alternatively, to launch the client after installation, use the Start menu to search for and select Remote Desktop. You can then pin Remote Desktop to your taskbar or start menu if desired.
10. Note that you will not be able to subscribe to the SSIS icons until the week of your agency’s migration to Azure. Separate instructions will be provided prior to your migration.
 Report this page